109ROAMING
2nd Lieutenant
Looking Bloody good I reckon!
Follow along with the video below to see how to install our site as a web app on your home screen.
Note: This feature may not be available in some browsers.
Ad: This forum contains affiliate links to products on Amazon and eBay. More information in Terms and rules


")
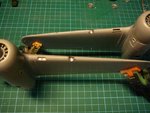
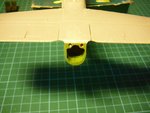
Peter, that engine with the black water color wash looks dynamite! Did you do the base color in acrylics or enamels?
Great job on everything so far.
Thanks Dwight, kind of you to say so.
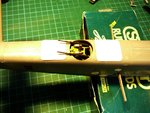
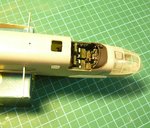
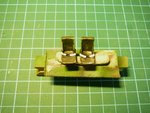
The base colour was done using Model Masters "Aluminium" enamel. I'm happy with the result, although I wasn't too happy with the way the ignition harness is represented. They never seemed to fit too well with the engine case and are perhaps over scale thickness . If I had a bit more time, scratch building them from copper wire would have been the go, and looked even better.
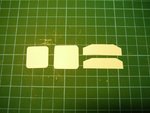
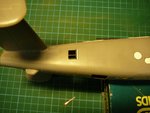
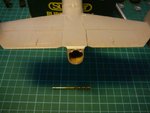
Mini update tonight, I have just finished priming and pre-shading the wings. I have only gone over the flap and aileron joins basically with the pre-shade. The remaining panel lines I intend to highlight with artist pencils after the top coat. That's a new approach for me, so fingers crossed it will look okay.
Cheers
Peter
Was hoping that it was acrylics. I've been wanting to try that engine wash trick on a couple of kits but I know that Acrylics aren't that good for that sort of thing.Ah I thought it might be enamels.

Ah I thought it might be enamels.
Dwight, you can get the effect with Acrylics....just pic the right ones!Good hardy silver and a heavily thinned black will work, just need to get the right consitency.
I've found sometimes working in reverse gives a good result too, paint black first then apply dry brushed silver or aluminium, light and build up or silver pencil is another option too.