Pisis
2nd Lieutenant
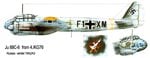
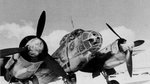
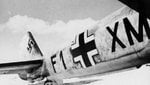
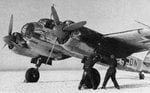
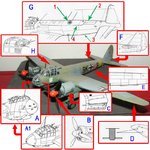
Need some colored profiles and/or photos of a Ju 88C-6 in a winter coat. Thanks!!!
Follow along with the video below to see how to install our site as a web app on your home screen.
Note: This feature may not be available in some browsers.
Ad: This forum contains affiliate links to products on Amazon and eBay. More information in Terms and rules
")
Pisis said:Do you think I can make a conversion from an A into a C?