pg265
Airman
Hi,
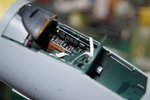
I recently started to work on the 1/32 Tam Corsair, Pratt and Whitney R-2800 resin kit from Brassin is choosen to add a bit of details.
Beginning of the WIP with the Engine.
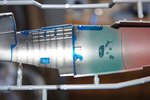
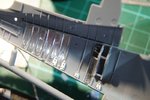
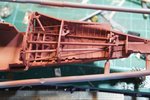
Parts cut from the resin sprue.


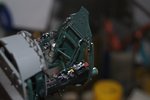
Some parts:

Original spark plugs are not bad, but... details can be added.


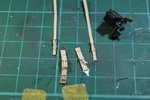
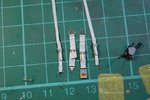
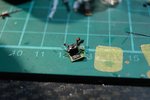
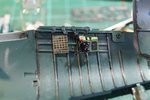
New connector.

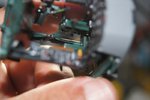
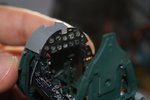
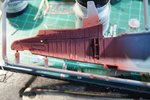
Cylinders head drilled to receive a "real" tube instead of the PE one of the Barssin kit.

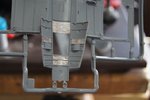
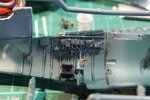
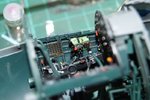
The box of the lower cylinder is also drilled to be connected to the reductor and the back of the engine.


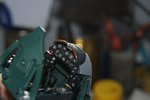
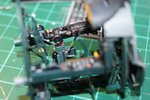
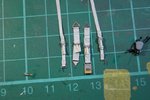
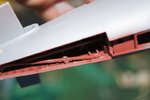
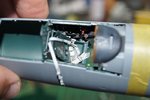
Test fit:


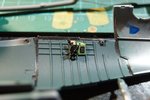
Early Bendix electrical harness from Barracuda

Next step: Paint.
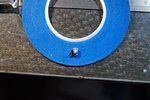
So time to mask...

Late magnetos are cut off and will be replaced by the Early ones provided by Barracuda:

More mask:

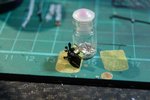
ZP primer and black before Alclad, from ZP once again:


Short dry time, then grey from Gunze: 307 337 with Tamiya thinner.
Alclad White Alu for the cylinders.


Black again.


Welcome to the Smurfs:

Le masque est retiré du bloc:


Black here too:

Pchiiit...


Mask off and light first weathering steps.


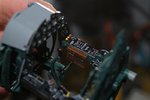
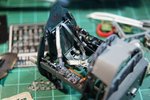
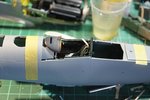
test fit:


Instruction plate added


First row:

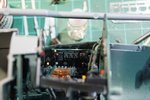
Test fit again with front end:


Bendix distributors:

Time for primer!
Grey Micro Filler on few parts.
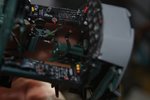
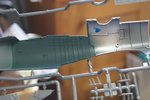
Cylinders:


I love the details:

Other engine parts and cowls:


After the grey... BLACK!
Gloss Black Base from Alclad.


"Engine Manifold" from Alclad.


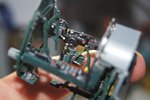
Test fitting for the push rods and spark plugs in place.


Well , this is my interpretation of the Monster...
I hope you like it.
More to come soon.
Pascal8)
I recently started to work on the 1/32 Tam Corsair, Pratt and Whitney R-2800 resin kit from Brassin is choosen to add a bit of details.
Beginning of the WIP with the Engine.
Parts cut from the resin sprue.
Some parts:
Original spark plugs are not bad, but... details can be added.
New connector.
Cylinders head drilled to receive a "real" tube instead of the PE one of the Barssin kit.
The box of the lower cylinder is also drilled to be connected to the reductor and the back of the engine.
Test fit:
Early Bendix electrical harness from Barracuda
Next step: Paint.
So time to mask...
Late magnetos are cut off and will be replaced by the Early ones provided by Barracuda:
More mask:
ZP primer and black before Alclad, from ZP once again:
Short dry time, then grey from Gunze: 307 337 with Tamiya thinner.
Alclad White Alu for the cylinders.
Black again.
Welcome to the Smurfs:
Le masque est retiré du bloc:
Black here too:
Pchiiit...
Mask off and light first weathering steps.
test fit:
Instruction plate added
First row:
Test fit again with front end:
Bendix distributors:
Time for primer!
Grey Micro Filler on few parts.
Cylinders:
I love the details:
Other engine parts and cowls:
After the grey... BLACK!
Gloss Black Base from Alclad.
"Engine Manifold" from Alclad.
Test fitting for the push rods and spark plugs in place.
Well , this is my interpretation of the Monster...
I hope you like it.
More to come soon.
Pascal8)