fubar57
General
Awesome
Follow along with the video below to see how to install our site as a web app on your home screen.
Note: This feature may not be available in some browsers.
Ad: This forum contains affiliate links to products on Amazon and eBay. More information in Terms and rules

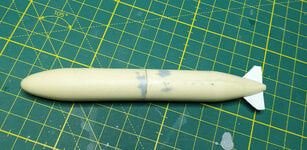
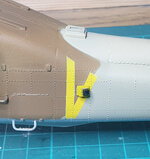
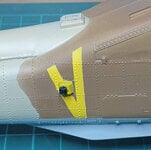
Next step was to glue the fins and paint them, unfortunately I lost the relevent pictures as well!When I feeled satisfied with my job, I covered it with liquid putty and, once dry, I sanded it smooth.
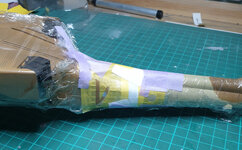
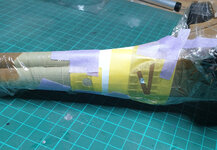
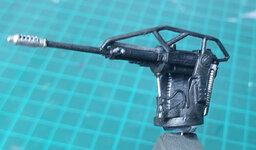
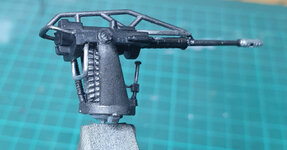
My master was ready, but there was a problem: this tank is nearly 65 mm in lenght and I thought it was too long for a single print, therefore I I cut my master in two an I made two silicon moulds, one for the front half the other for the rear that finally were glued together.
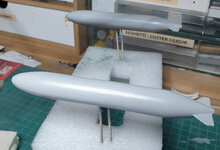
I just a picture of those tanks painted with the underside color.Next step was to glue the fins and paint them, unfortunately I lost the relevent pictures as well!